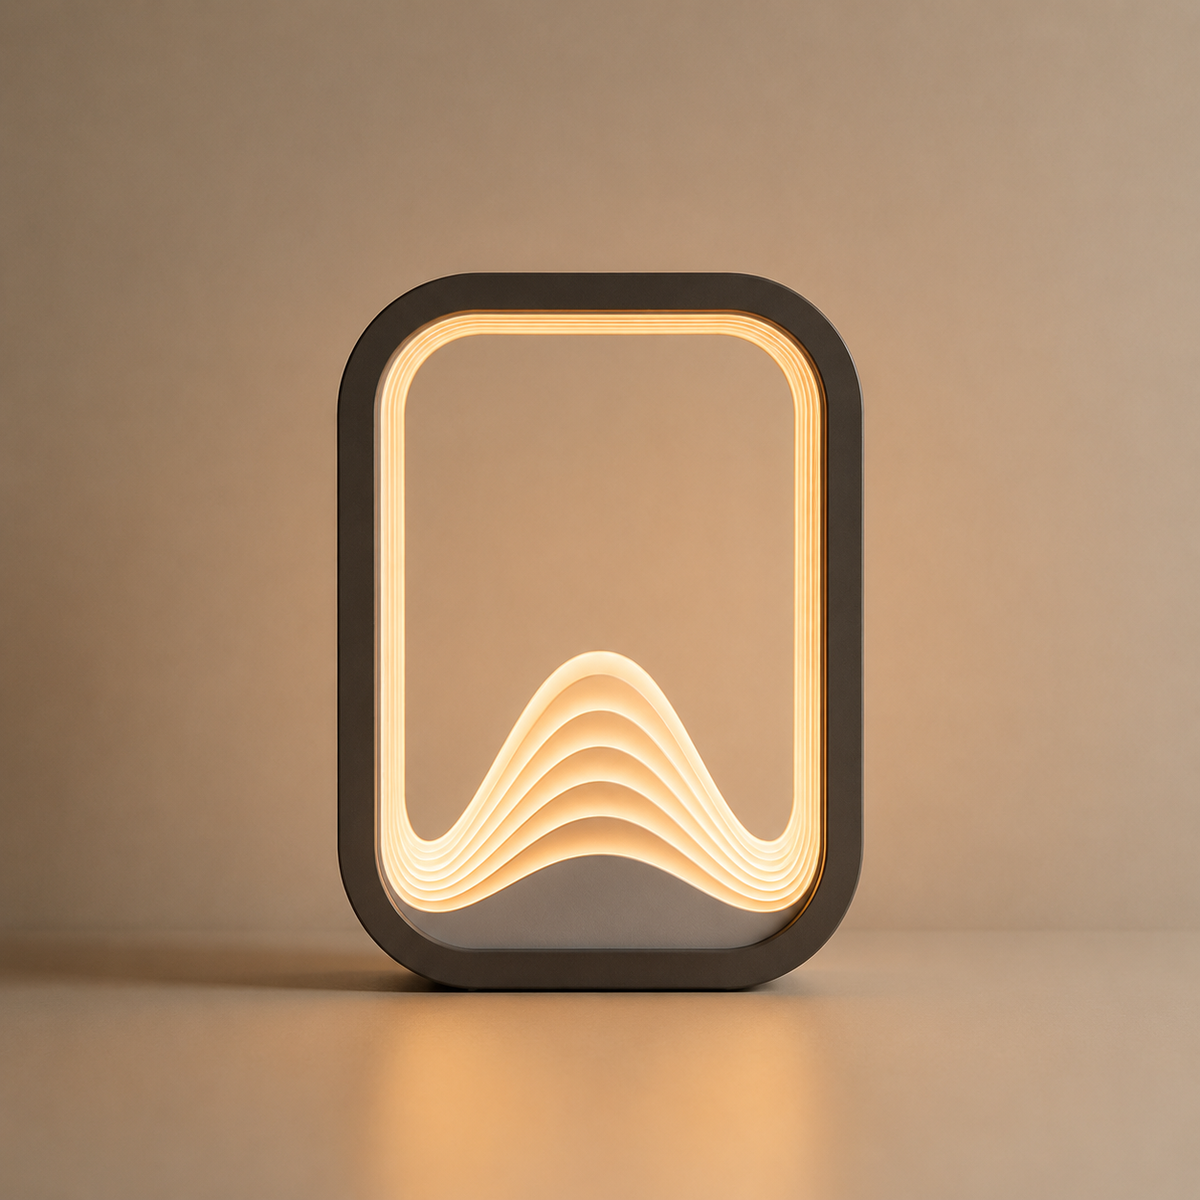
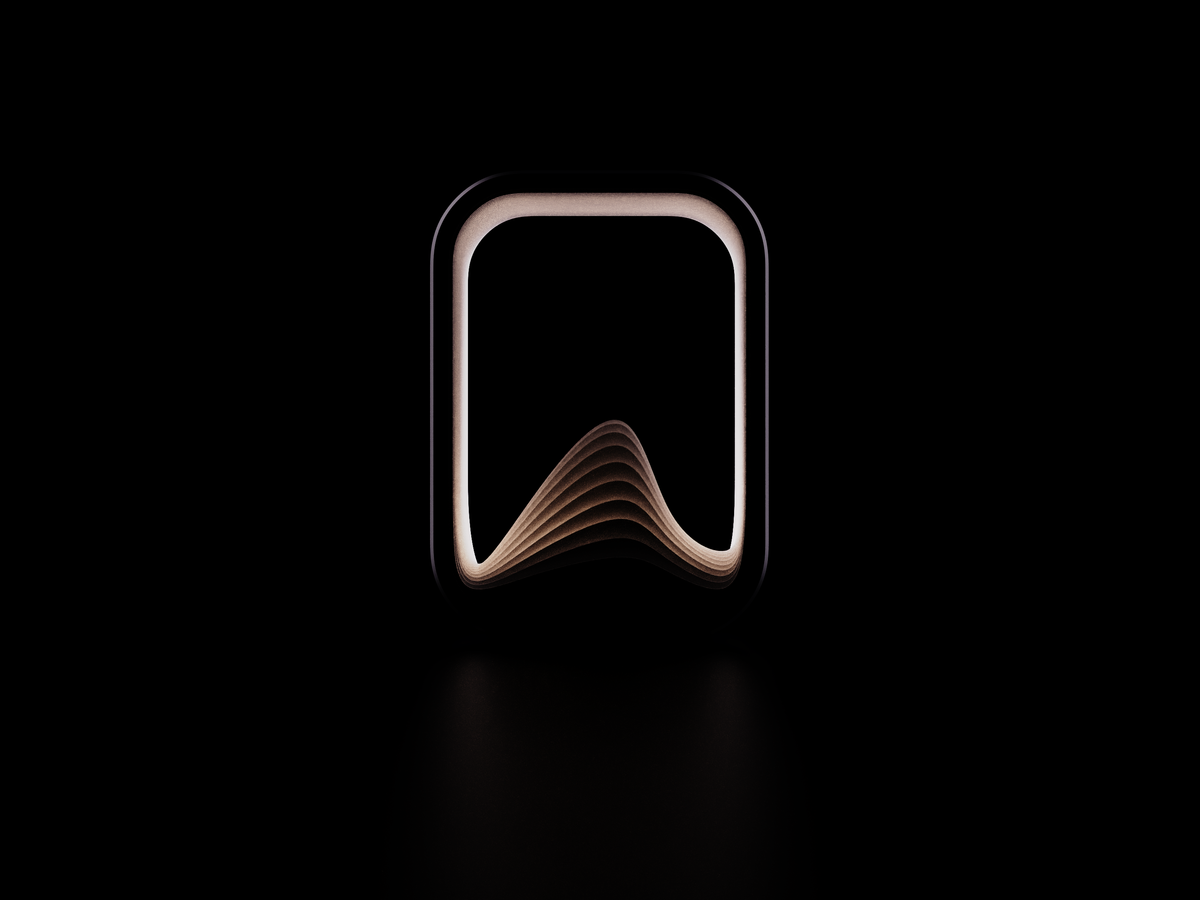
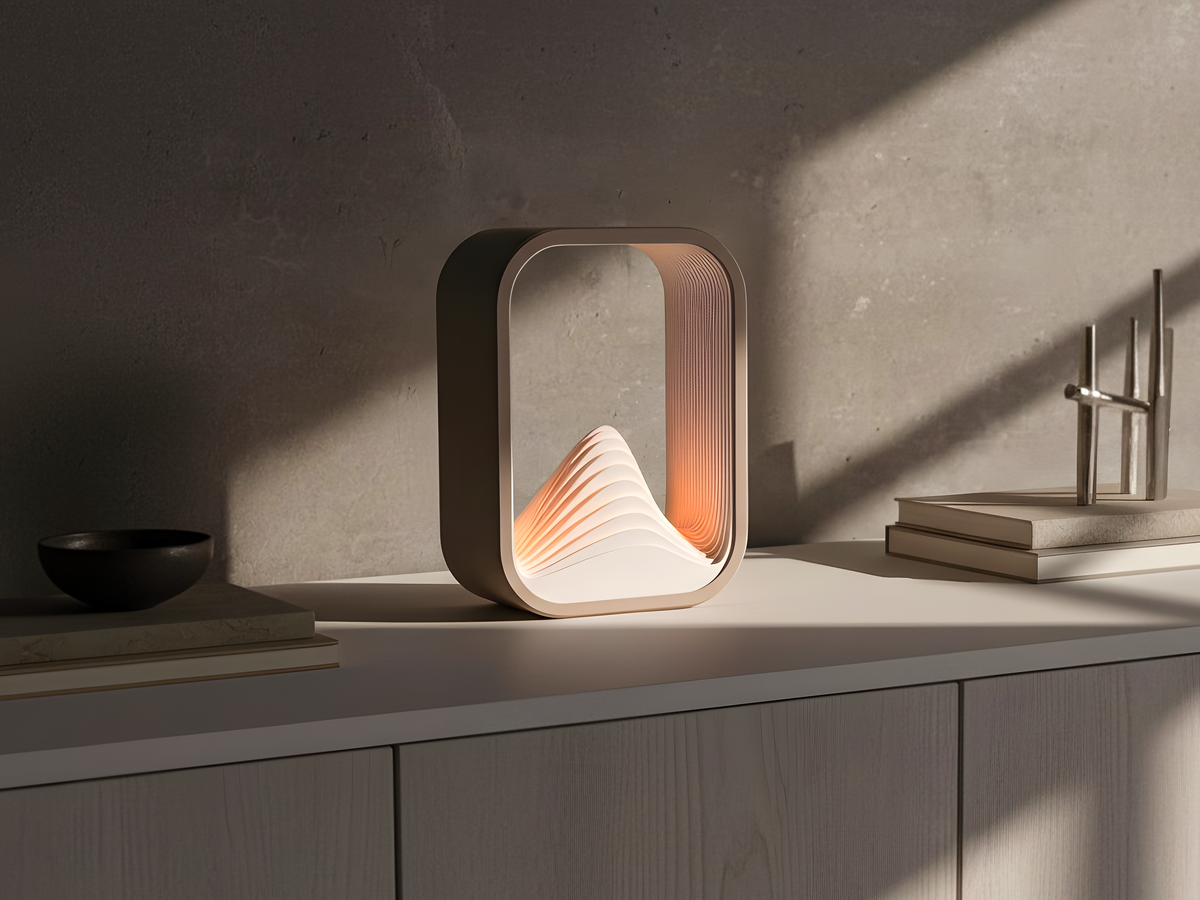
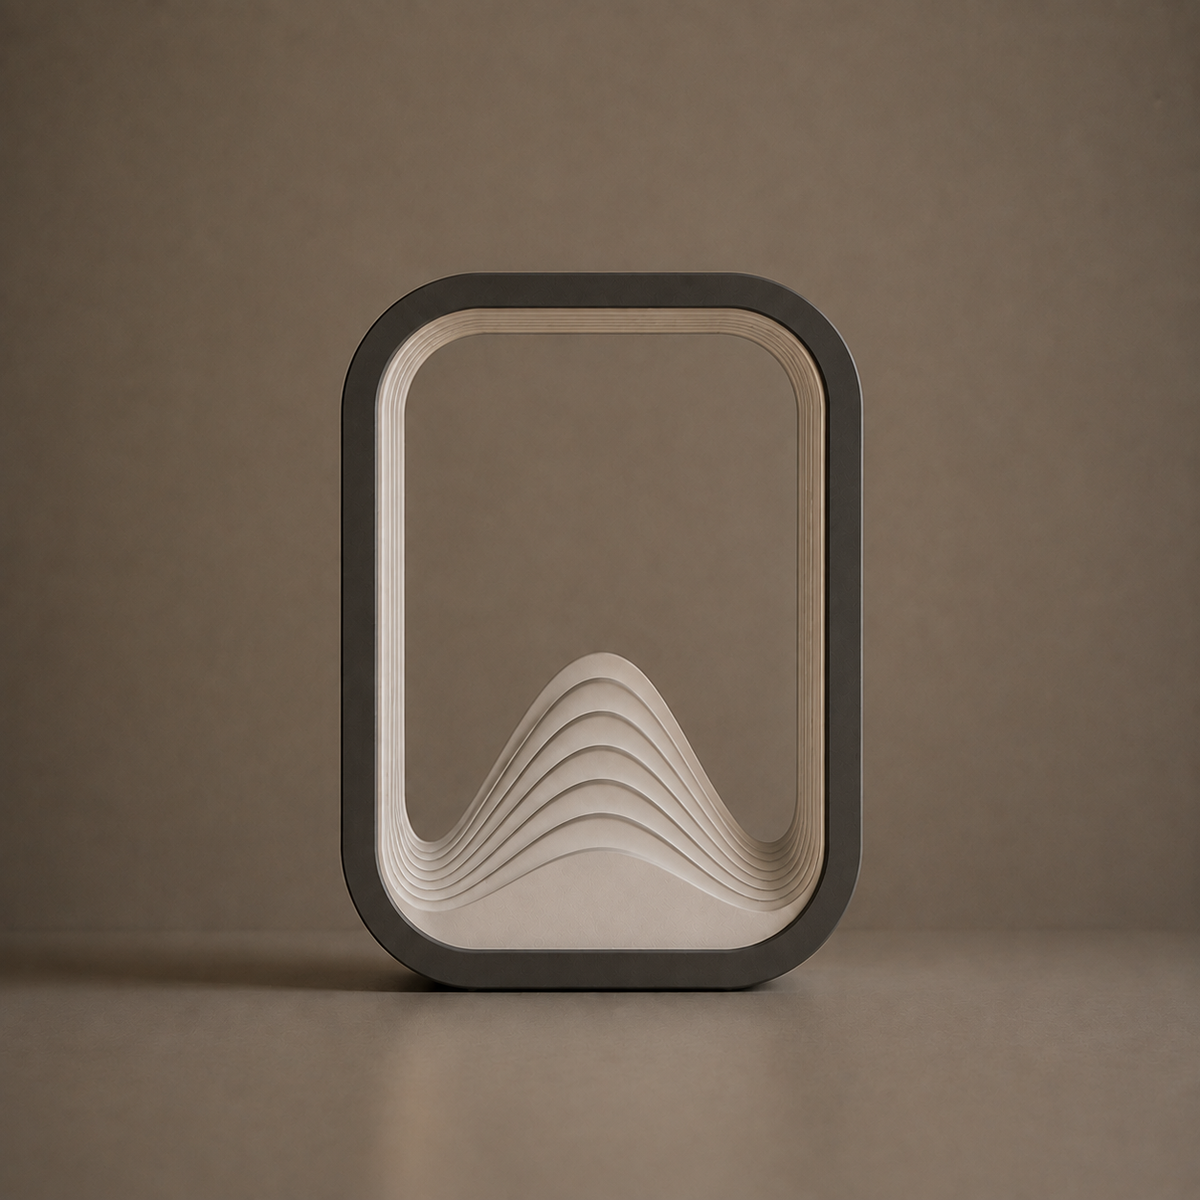
Studio process / The Wave Lamp – 3D Printed PLA Accent Lamp
From file to object.
This product does not have a complete four-image component set yet, so this section stays tied to the product itself rather than borrowing parts from another object.
Design
The geometry, scale and intended use of The Wave Lamp – 3D Printed PLA Accent Lamp are prepared for production.
The object is produced layer by layer, then inspected for surface consistency and fit.
Finish
Edges, fittings and functional details are assembled and checked in the studio.
Ready
The finished piece is checked, photographed, packed and prepared for its new room.
Add product-specific images to the metafields assembly_printed_shell, assembly_light_core, assembly_integration and assembly_final to automatically unlock the animated component view for this product.

Material, scale, use.
A closer record of the object: surface, proportion, process and the way it sits in a real room.


